


Kimono Rental in Kyoto: Shop Selection & How to Prevent Wardrobe Malfunctions
There are many kimono rental shops in Kyoto, and you may be wondering which one to choose.
For those times when you’re uncertain about which kimono rental shop to select, we’ve put together some tips on choosing a kimono rental shop!
- 1. Proximity to Kyoto Tourist Spots
- 2. Do They Offer Kimono Rental Plans with Hair Styling?
- 3. Variety of Kimono Rentals Available
- 4. What Are the Pricing Options?
- 5. Dealing with Stains on the Kimono
- 6. Is Kimono Dressing Included in the Rental?
- 7. Ensuring the Kimono Stays in Place
- 8. How to Distinguish Between High-End Kimono Shops in Kyoto
- 9. Enjoying Your Outing in a Kimono – How to Prevent It from Getting Disheveled
Proximity to Kyoto Tourist Spots
It’s also essential to consider how close the kimono rental shop is to the Kyoto tourist spots you want to visit.
Before making a reservation, check if the shop is conveniently located for the Kyoto sightseeing route you have in mind.
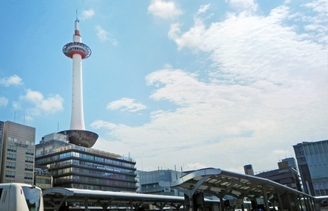
Popular areas with many kimono rental shops include Gion and Kiyomizu area, Kyoto Station area, Arashiyama area, and Kyoto Imperial Palace area.
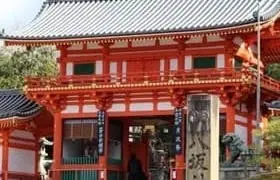
Kimono rental in the Gion and Kiyomizu area is popular for its proximity to attractions like Yasaka Shrine, Kiyomizu Temple, and Yasaka Koshindo. This area is also convenient for accommodations with many hotels nearby.
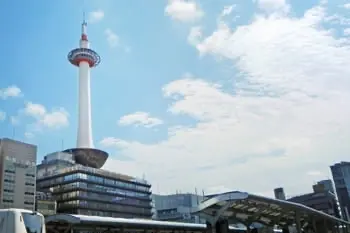
Kyoto Station is convenient for reaching any tourist destination, and with numerous hotels nearby, it’s a popular choice for many.
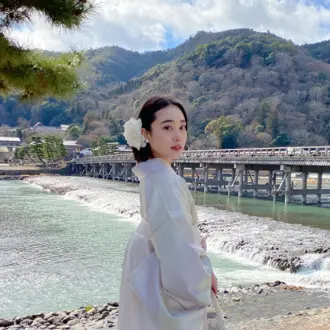
Kimono rental in the Arashiyama area offers a Kyoto-like atmosphere with attractions such as Togetsukyo Bridge and the Bamboo Grove.
Depending on where you want to go in Kyoto, renting a kimono in alignment with your desired tourist spots is recommended!
>Where is the best reservation area for kimono rental in Kyoto?
Do They Offer Kimono Rental Plans with Hair Styling?
Since you’re renting a kimono in Kyoto, many women may want to have their hair styled to look cute. Isn’t that the case?
For those with long hair, wearing a kimono can sometimes give a heavy impression, so hair styling is a great option.
It’s also important to consider whether they offer a hair styling service in addition to kimono rental!
For details on plans that include hair styling, you can check here.
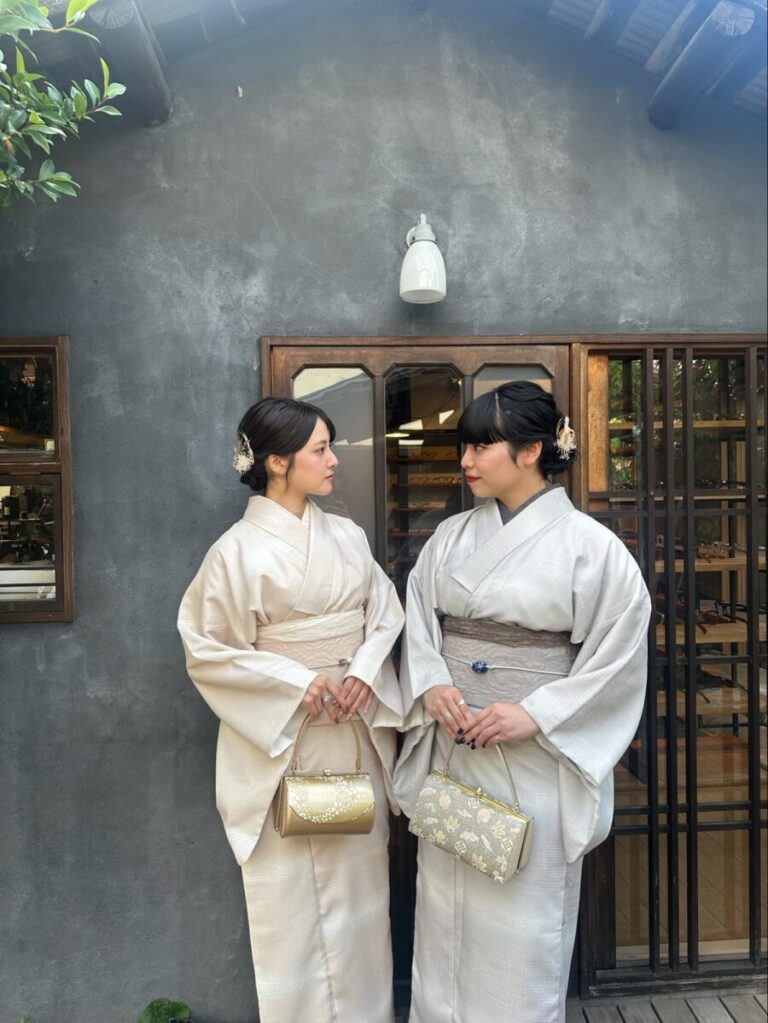
Variety of Kimono Rentals Available
In popular kimono rental shops, more than 100 customers visit each day. Therefore, the availability of kimono rentals is also a crucial factor.
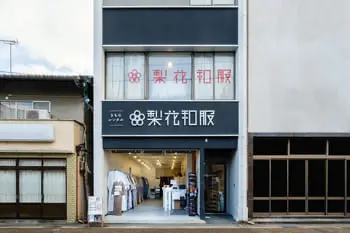
Some stores have over 200 kimono rentals, and others may even have more than 300 kimono rentals available, like at Kyoto Kimono Rental Rikawafuku with its shops Rikawafuku Gion, Rikawafuku Arashiyama, Rikawafuku Kiyomizu Temple, and Rikawafuku Kyoto Station Front Shop!
What Are the Pricing Options?
When choosing a kimono rental shop in Kyoto, one of the essential factors to consider is the pricing of their kimono rental services.
However, there are some important points to keep in mind when looking at the kimono rental fees.
Is the hair styling service included, or is it an optional add-on with an extra charge?
Even if the base price seems low, adding optional services can significantly increase the total cost.
Additionally, some kimono shops offer different price tiers and plans depending on the type of kimono, so it’s advisable to check if they have the type of kimono you want.
There might also be discounts available, such as couples’ discounts or student discounts, depending on the situation, so exploring deals on their website is recommended!
>Kimono Rental in Kyoto & Asakusa: 5 Common Mistakes to Avoid on the Same Day
Dealing with Stains on the Kimono
Since kimono rentals involve renting items, if you accidentally soil the kimono, additional charges may apply.
Most shops outline this in their terms and conditions, so it’s a good idea to check.
There have been cases where customers were billed up to 10,000 yen for cleaning fees.
At Kyoto Kimono Rental Rikawafuku, we offer kimono insurance for 500 yen to provide peace of mind to our customers. This option is recommended for those who are concerned.
Many customers enjoy eating and walking around while wearing a kimono, especially during extended rental periods.
>How to walk without ruining your kimono when renting it in Kyoto
Is Kimono Dressing Done Carefully?
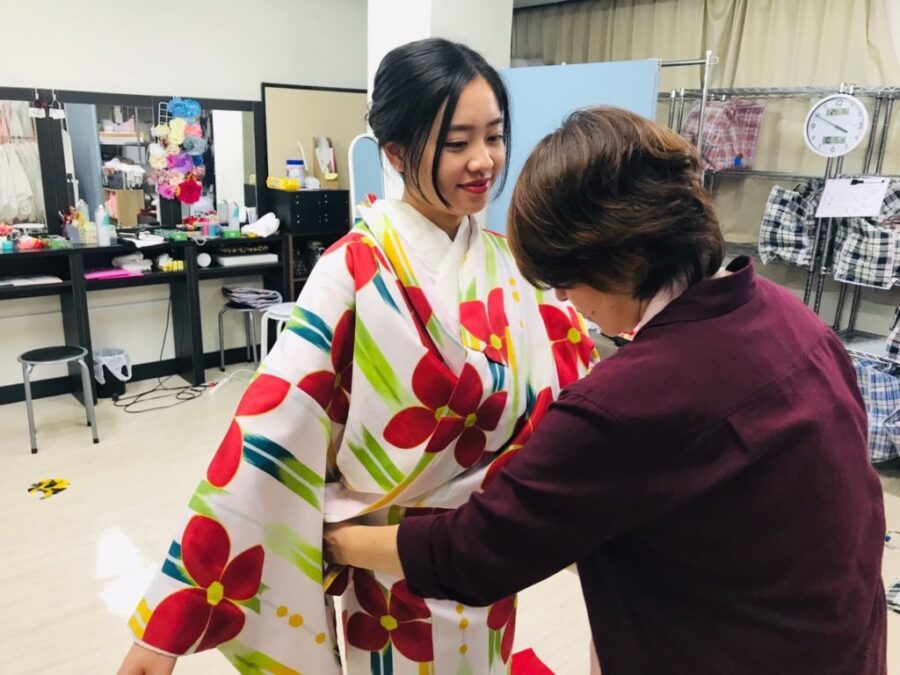
When going out in a kimono, the biggest concern is probably keeping it from getting disheveled.
If you’re having someone else dress you in a kimono and don’t know what’s what, it can be challenging to understand what to do.
How can you ensure that it remains as perfect as when it was first put on?
– Adjustments
A kimono is made from a single, long piece of fabric that is cut and sewn together in a straight line. Dressing in a kimono that wraps this fabric around a curved body requires some ingenuity, which is where adjustments come in.
When you wrap a single piece of fabric around a flat surface, it comes out wrinkle-free and looks beautiful. The same technique can be applied to wearing a kimono neatly.
That’s why adjustments are necessary. Adjustments are made to fit the kimono as closely to the body’s curves as possible.
The area that typically requires the most adjustment is the waist. It’s also important to address the curves on the sides of the body, the height of the chest, and any gaps around the hips on the back.
Eliminating irregularities allows the kimono to be worn elegantly.
Special accessories are available for adjustments.
These accessories, which resemble belts, are wrapped around the area above the waistbone and secured with Velcro or fasteners.
Even if you don’t have them, two towels on hand can suffice for making adjustments.
The need for adjustments varies more depending on the curvature of the body rather than differences in physique, whether tall or short.
While adjustments may be something to avoid during the summer when wearing a yukata due to the heat, for an elegant appearance, some minimal adjustments are still recommended.
– Strings
Another essential item during dressing is strings. After putting on a nagajuban (long undergarment) and the kimono, you secure specific points with strings.
These strings not only serve as buttons or zippers but also help prevent the kimono from coming undone when tied correctly.
For a nagajuban, this includes under the bust, and for the kimono, it includes under the bust as well as above the waist.
One thing to keep in mind when dealing with strings is that they should not be painful.
During dressing, it’s crucial to avoid discomfort or pain as much as possible.
It’s common for people not to know where it might become painful, even if the person dressing you didn’t feel any discomfort.
Ensuring that the strings are tied during adjustments can help avoid them digging into the body, allowing for comfortable kimono wearing.
Furthermore, the handling of knot placement is essential. Avoiding making knots and simply winding the strings tightly or tying knots on the sides of the body are some methods to prevent them from coming undone.
For this purpose, the material and thickness of the strings are also crucial. Good strings are made of materials that don’t slip easily and have a reasonable width.
Wider strings that have more surface contact with the body are more effective than thin ones.
– Communication with the Dresser
When someone is dressing you in a kimono, the biggest factor is communication with the dresser.
For example, if your mother or grandmother is dressing you, it’s easy to communicate about areas that may be uncomfortable or where you’d like adjustments.
Even if the person dressing you is a professional dresser or hairstylist, they still want you to look great, so don’t hesitate to express your preferences.
Professional kimono dressers and hairstylists in particular are dedicated to making you look lovely.
Creating an atmosphere where you can easily voice your desires is essential. So, there’s no need to hold back!
The position of the strings and how tightly they are tied should always be communicated.
Additionally, you can consult about preferences such as the width of the half-collar or requests for the obi (sash) tying style.
By dressing comfortably and confidently without feeling intimidated, you can carry off the kimono even if you’re not used to it.
Ensuring Kimono Stays in Place
– Check the Back Seam
After dressing in a kimono, check if the seam down the middle of the back of the kimono, known as the “center back,” is properly aligned with your spine. If this is misaligned, it can lead to uneven sleeve lengths or the collar slipping.
– Check the Hemline and Collar
“Not too tight, not too loose” is the key here. If it’s too tight, it may feel uncomfortable. If it’s too loose, it may lack modesty and a fresh look. The hemline should have about the width of one fist’s worth of opening at the base of the neck, and the collar should hide the hollow of the neck. The basic form is for both the collar of the kimono and the half-collar to overlap just below both ears. Adjustments can be made based on body type, physique, and personal preference. Slightly more open collars are acceptable for formal occasions.
– Check the Hemline
The hemline should be determined with the assumption that you will be wearing zori (traditional Japanese sandals) or geta (wooden clogs). If the waist string is too loose, it can lead to the hemline sagging and potential disarray. So, tie it securely but not too tightly. Also, if the hemline is too long, it can get caught between the zori and tabi (socks with a separation for the big toe).
– Check for Wrinkles
Wrinkles in the kimono are dealt with at each stage of dressing. The kimono is stretched out as the strings are tightened, and this process continues throughout the dressing. Therefore, at the end of dressing, there should be no visible wrinkles on the front and back of the kimono or at the hemline.
Undealt-with wrinkles can be a source of kimono disarray, so be sure to check thoroughly!
Identifying High-End Kimono Rental Shops in Kyoto
When renting a kimono in Kyoto, you want to wear a nice kimono, but you are concerned about the price.
You might have experienced starting with a low initial price but ending up with a high bill due to various optional add-ons.
Here’s how to identify high-end shops to avoid such situations:
If the price varies depending on the kimono you choose, be cautious.
Shops where the price varies based on the kimono tend to result in higher overall costs.
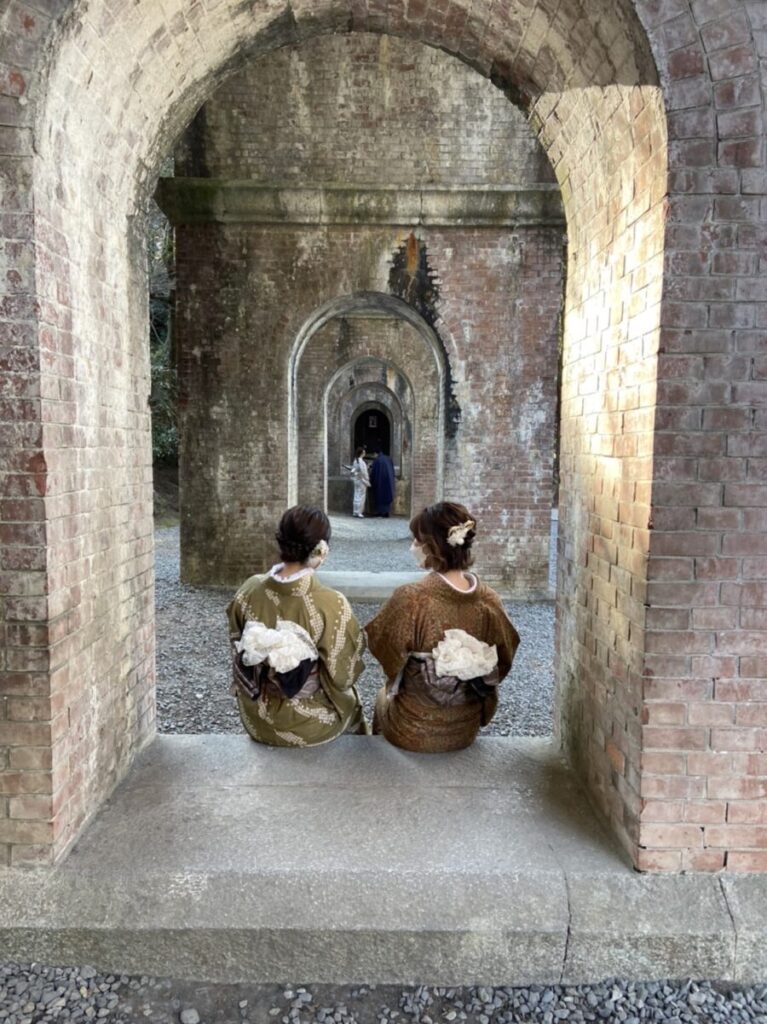
Having a Fun Outing in a Kimono: How to Prevent Kimono Disarray

Your kimono has been beautifully dressed on you, but even with careful checking right after wearing it, it’s still impossible to keep it in perfect condition throughout the day.
The cause of kimono disarray is that there are “unexpected movements for kimono.”
In other words, there are proper ways to move when wearing a kimono, and following these movements makes it less likely for the kimono to get disheveled.
Walking
Never take large strides. When wearing a kimono, it’s best to walk with a stride that keeps the hem from becoming disheveled.
You don’t need to force an inner thigh position, but just make sure your hems don’t get messy. Walking naturally will naturally make you slightly bow-legged. It feels like walking straight on the line. Be careful not to drag your zori sandals!
Standing Posture
Especially when wearing a kimono, make sure to maintain a straight posture! Some people naturally improve their posture because of the obi (belt). Also, keep your shoulders down and feel like your collarbone is forming the shape of the number “eight.” This way, your chest opens up, and your neckline looks neat and stylish.
Sitting Posture
You might feel like the movements are more significant than standing and walking, and you’re worried about your kimono coming undone. But don’t worry.
Stand with your back against the chair and align your feet. If you slowly lower your hips, you can sit beautifully. When getting into a car, you’ll need a bit of a trick because you have to get in from the side of the seat. Lower your hips from the side of the chair and sit down.
After that, lightly hold the edge of your kimono with your right hand and align your feet starting from your buttocks. If you expect to sit frequently in a day, it’s a good idea to choose an obi knot that fits your body. When you stand up, check it casually.
There are three key points: the hems, the collar, and the obi. Check if the hems are stepped on and not hanging down.
Make sure the collar is not rising on the obi side or forming wrinkles while sitting.
Also, check if the obi knot looks unnatural. By performing these small checks when transitioning to the next movement, you can avoid significant mishaps and feel more at ease.
★Explore more articles recommended for your trip to Kyoto.
>Kyoto Kimono Rental for Couples – Explore the City in Traditional Style!
>We recommend renting a kimono in Kyoto and traveling alone! Make wonderful memories!
>10 sightseeing spots where you should rent a kimono during New Year’s in Kyoto